Technically this is my latest project, but it also falls into the "old" category since it was actually started back in July 2011. Since this is a refurbishing project it started -- like any worthwhile remodeling -- with a fair amount of "demolition", and that's what this post talks about.
***
First, I want you to get a good idea of what the chair looked like before I started this project. Unfortunately, this was the most complete shot of the chair in its original form that I could find:

It's upholstered all over, except for the four wooden legs. Unfortunately you can't see the curved arms here -- I may have a better photo somewhere... I'll have to keep looking.
Because of pet-related damage I decided to reupholster it -- or more accurately my stepson would, as he's the one who went to school for that sort of thing and has the industrial sewing machine.
Since he was looking for work at the time, I had him come over and start stripping the fabric and padding from this chair which I thought would be a job he enjoyed -- he's quite fond of "destroying" things.
It turns out though that this job was too tedious and delicate for him, his patience wearing thin after an hour or two. It seemed like a simple enough task: remove all of the fabric, foam, and whatever, taking photos as you go so you can duplicate the work. It was also important to keep the pieces of fabric largely intact so he could use them as a pattern to cut new ones.
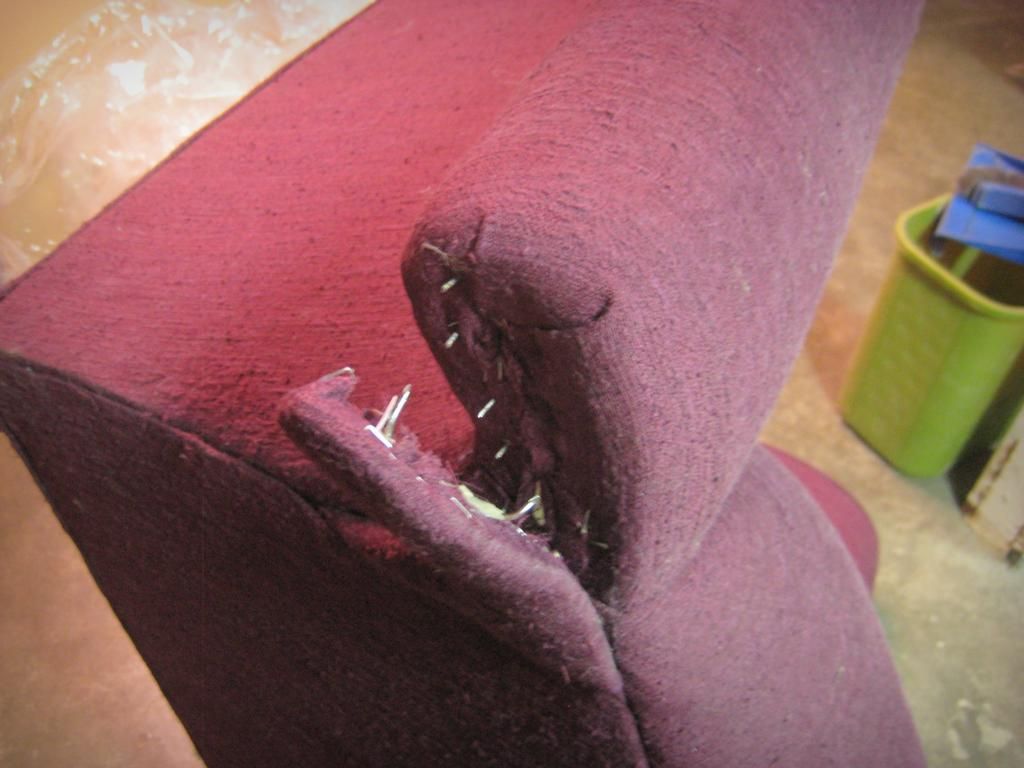
Our first surprise was realizing that staples were the main construction materials here.

Our second surprise was how generous they were with them. Need to attach a strip of fabric that's 24" (61 cm) long? That's probably 30 staples, but possibly as many as 50. They did not want any of these pieces to get loose over time!
The highest concentration of staples were in the ends of the curved arms:

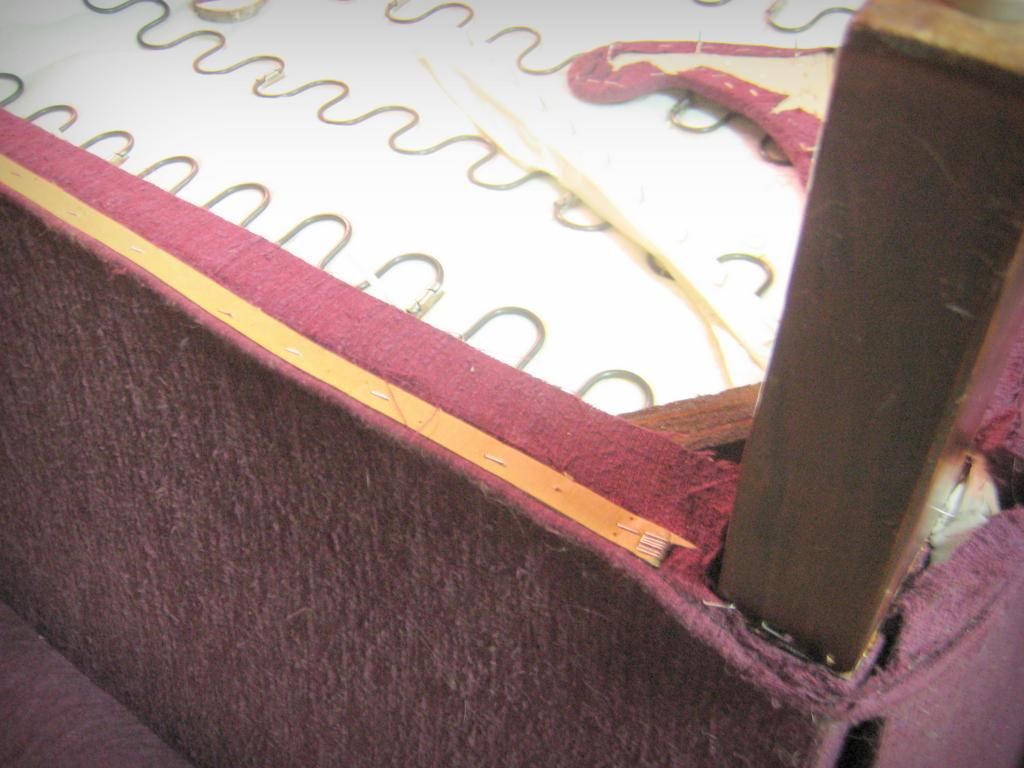
Our third surprise was how many different layers there were. Fabric, thin foam, cardboard, tissue paper -- each layer held in place with its own seam of staples. My stepson removed hundreds, and when I took up the project a month or so ago I removed hundreds more. I can't even give a guess as to how many staples were in this chair, but let's just say that by the time the last one was pulled the sharpened screwdriver and pliers had really gotten a workout.

The staples that weren't flush to the wood were easy to grasp with pliers and pull out. For the deeper staples the tool that probably worked the best was an awl -- an "ice pick". The sharp tip got under the staples nicely, lifting them enough to be plied out. Unfortunately that was my stepson's tool so when he finished (taking the awl with him) I had to use a screwdriver. I tried filing a cheap screwdriver into a sharp point and that worked, but wasn't as good as the awl.

I mentioned earlier that this job was frustrating for him. I want to point out that it was really frustrating to me too, and I have much more patience with this sort of thing than he does. There were times when I turned the chair over thinking I had just removed the last staple, saw another line of staples that I had missed, and walked out of the garage, done for the day. Grrrr.
So here's what the chair looked like when he finished (back in July 2011):

There are a few scraps of foam and tissue paper still attached, but 95% of the upholstery had been removed:

I then moved the chair into the basement, my stepson got a job, and the project stalled out.
I'm glad it did though, because in the two years since we stripped it bare I've rethought the goal of this project. I decided that it would not make sense to reupholster the chair completely, as it would eventually get cat-damaged again. Instead, I'd redesign it to reduce the amount of damage that a cat could do to it -- something I do mentally with every piece of soft furniture we own.
And that's where I will continue in next week's post, as I get into some cutting and reshaping. As tedious a start as this project had, it sure is exciting me now!
.
No comments:
Post a Comment