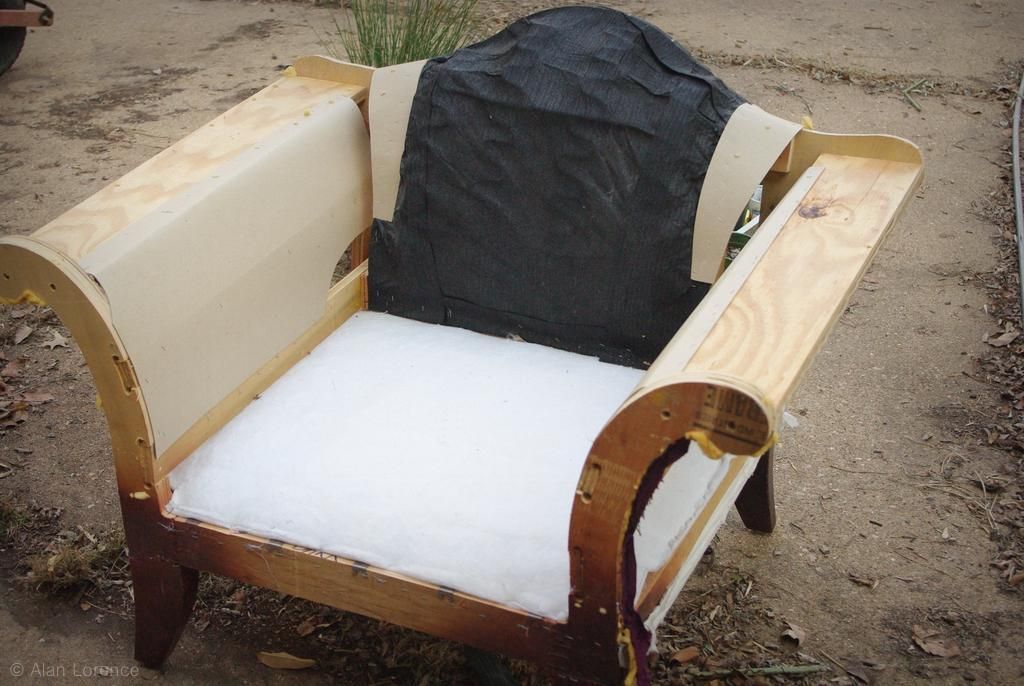
If you remember, the chair sat for over two years, and during that time of resting I changed my plans for what this chair would turn into. I had two goals with it now: the first was to modernize it a bit, while the second was to cat-proof it. To me that meant replacing as much of the upholstery with wood as possible.
***
Since I had seen the skeleton of this chair for so long, I started coming up with a plan. The cardboard went first:

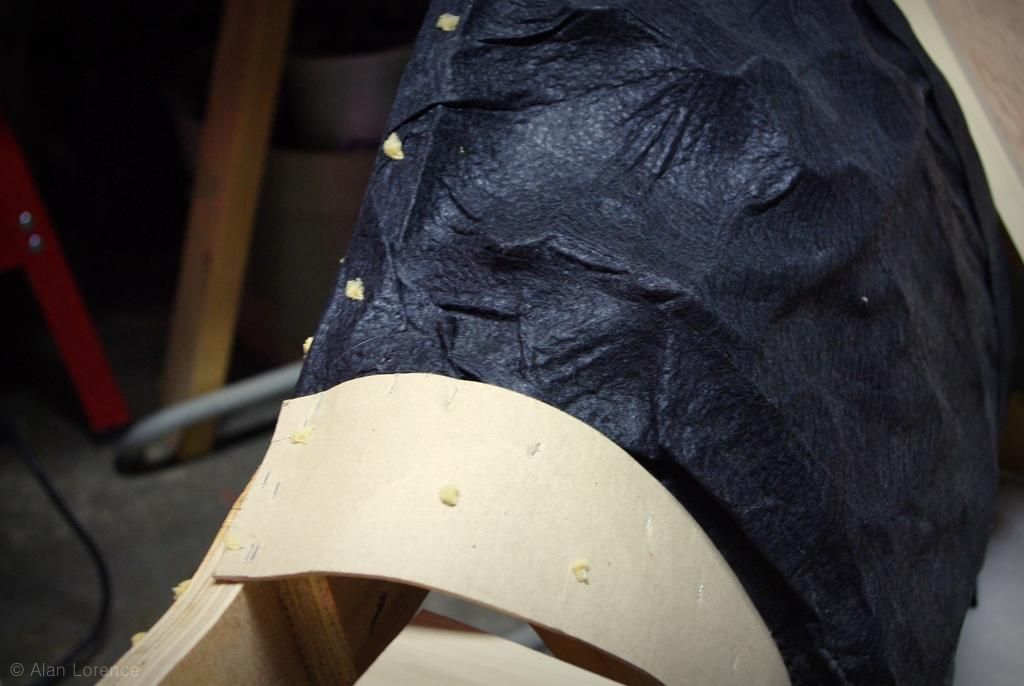
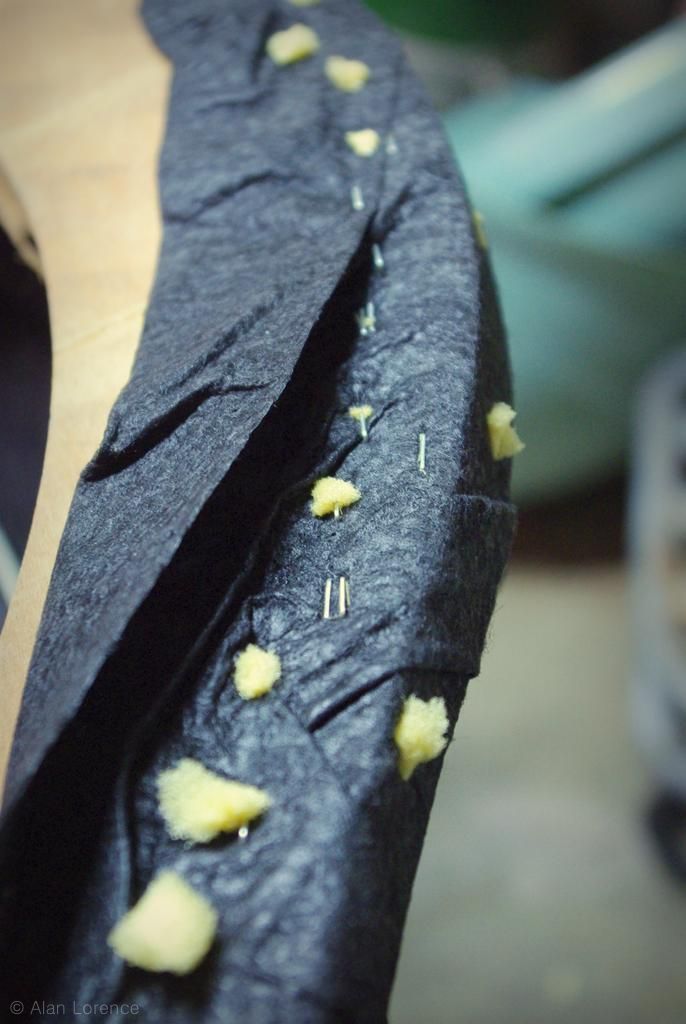
It still blows my mind that cardboard is used here! I guess it's the easiest way to do the curved arms. It was covered by lots of foam and fabric, and there is a wooden support under there so it wasn't flimsy. It did the trick, right?

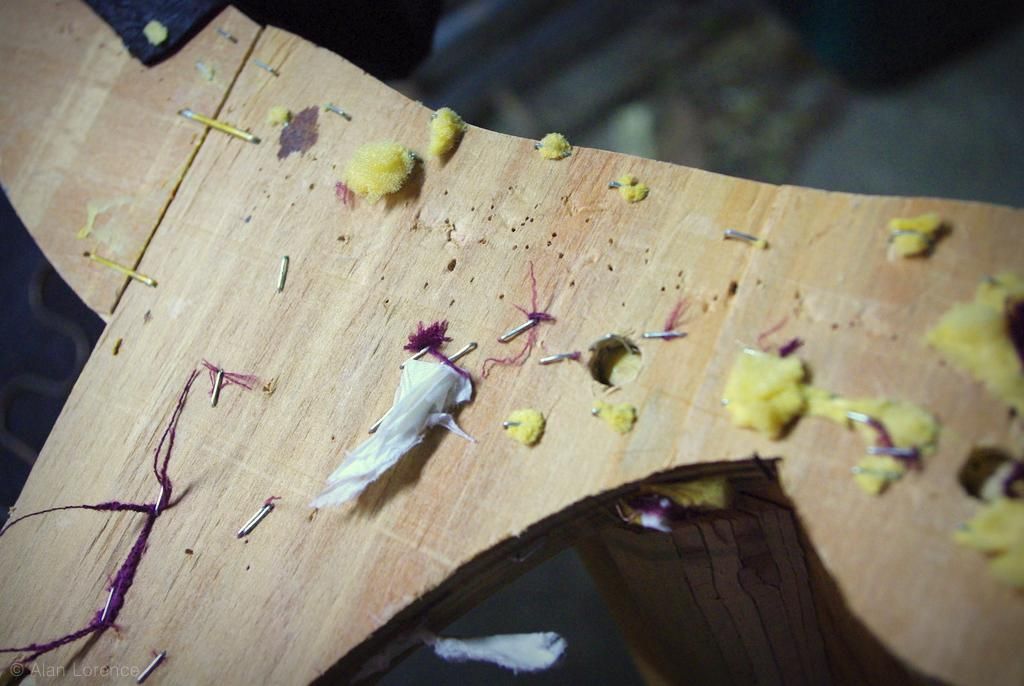
There were still some scraps of fabric tucked here and there, especially under the curves:

That meant more work with the pliers. Sigh.
I still wasn't sure what I was going to do about the back of the chair, as its shape was defined by springs:
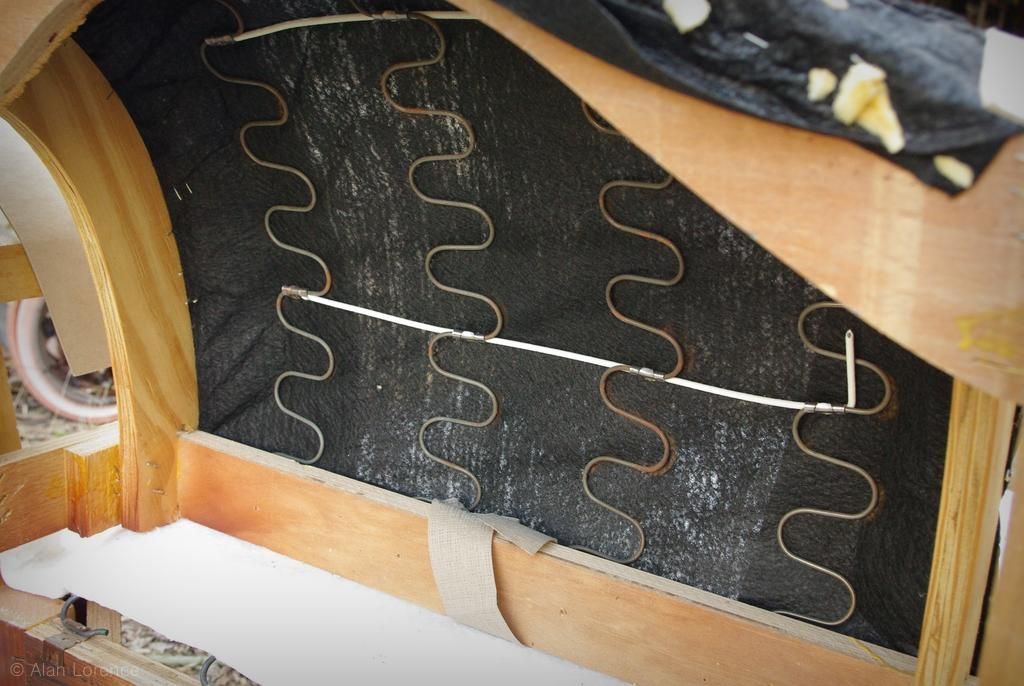
Much too curvy for the new design so has to go... somehow. I'll come back to that. One tip I have for this type of project where you're pretty much designing as you go: if you get stuck on one part, move on to something else. I've wasted so much time just staring at a "problem" and trying to think of a solution, when as soon as I started working on another section the answer came to me.
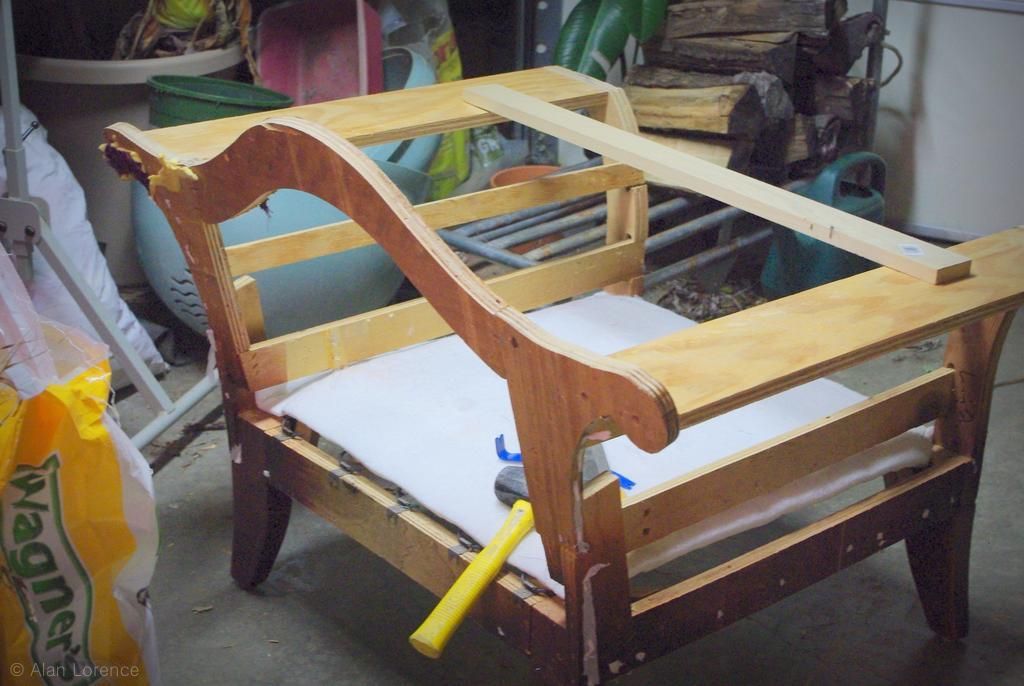
So I stopping thinking about the back and started taking care of the curvy arms:
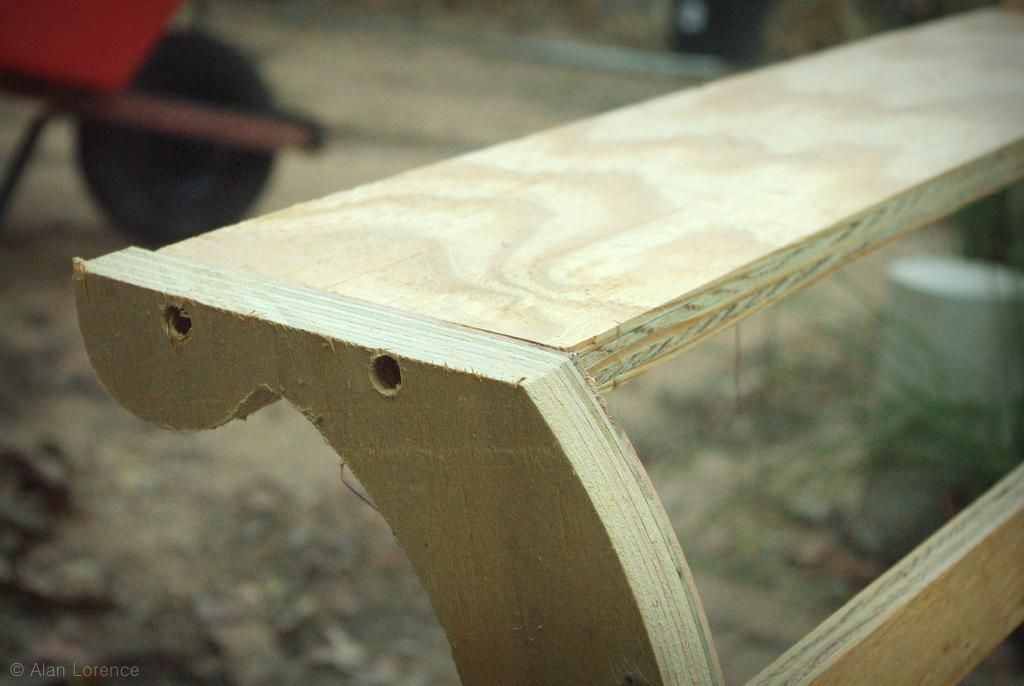
I cut that part off with just a hand saw, using the existing board as a guide. I didn't worry about getting it perfect as I knew that I'd be sanding this, and that it would eventually be covered up.
Then I decided that the curved back had to go, so I removed the black fabric:
Great, lots more staples...
With the back springs removed, my next step was clear:
I want the new version of the chair to have a straight back, so the arched piece at the top had to go! First though, those other curved supports:
With those gone I could cut out the arch...

Note that I also cut the curves off of the arms (as I previously did on the front of the chair).
I was debating whether or not I should remove the seat springs too, and finally decided that yes, they too had to go.

They are too curved for the new design -- I need the bottom to be nice and flat.


So out they came. It was fairly easy to pry the springs out of the clips, then the retaining clips out of the wood.
Now the chair needs a new back, but it can just be simple -- the final design will use a large, squarish cushion for the back, so anything I do here won't be too visible, but needs to be sturdy of course.
It also needs new seat supports, but like the back these are functional only so I used a few scraps:
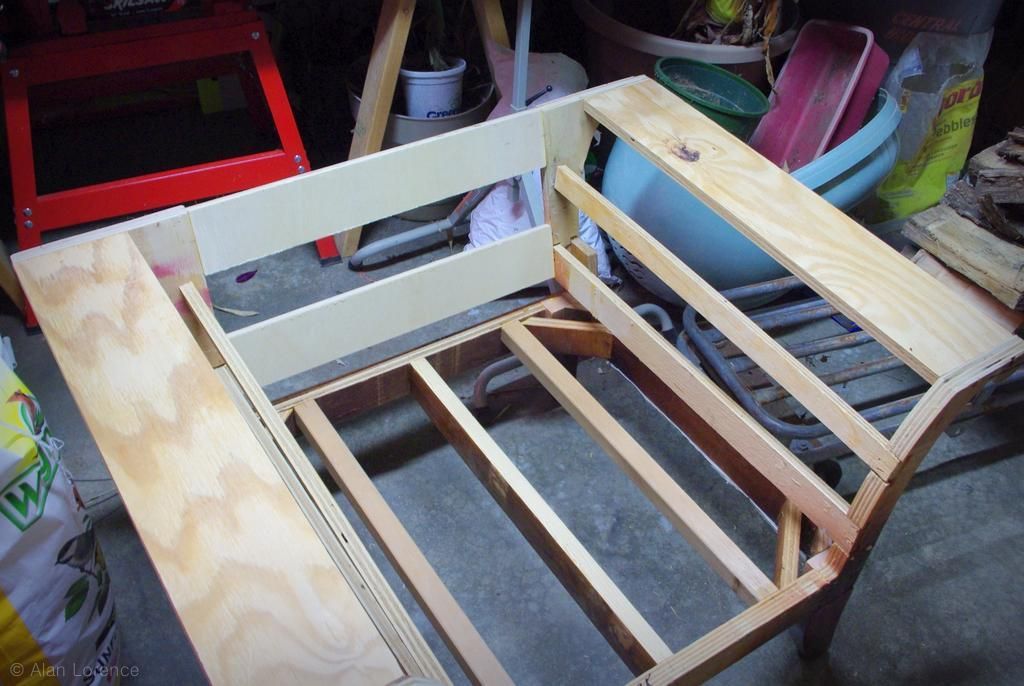
The seat supports were glued and screwed into place, while the back slats were attached with glue and biscuits. I'll talk about the biscuit joiner in another post, but it's one specialty tool that has made many of my wood-based projects possible. It's a simple, strong way to join two pieces of wood together end-to-end (or edge-to-edge).
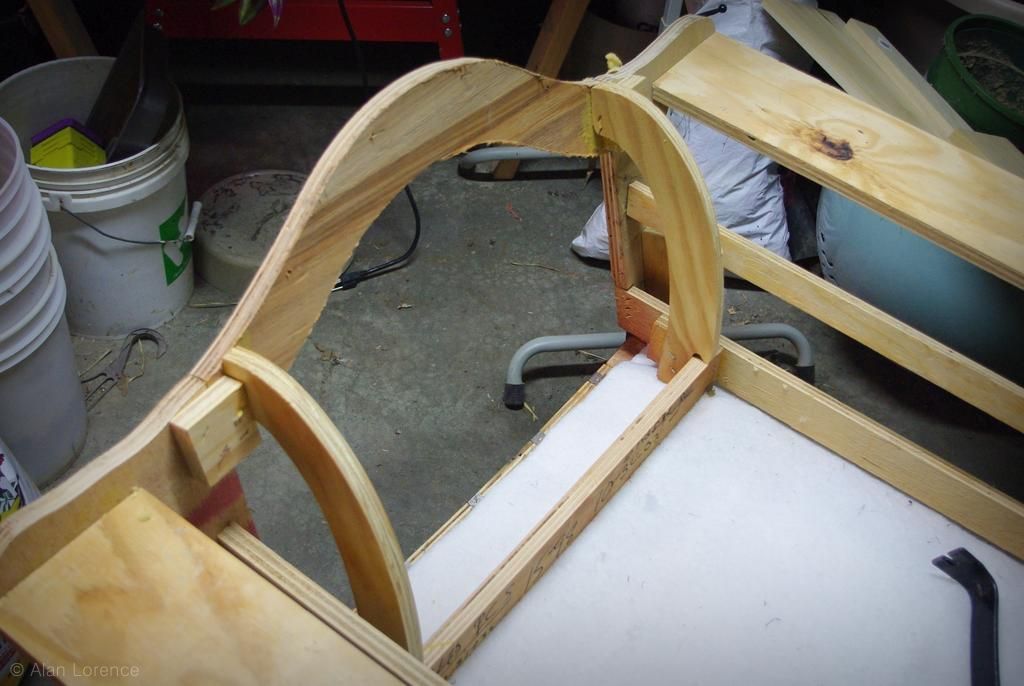
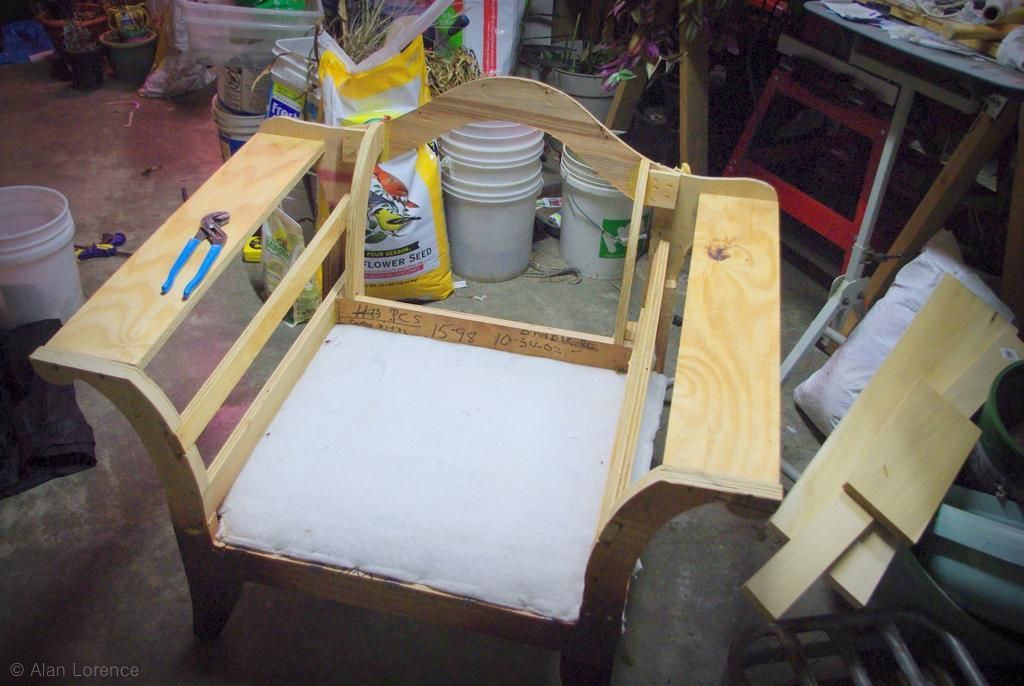
You can see that the chair has an overall square look to it -- except for the curves at the front, everything is now straight and flat.
With the "skeleton" of the chair now exposed and modified, I can start making it pretty. Here's a look at what I'm dealing with:

These supports were what the cardboard was stapled to to make the smooth surface of the curved arms. It's just plywood, and not very attractive. You can see at the bottom there's a second piece of wood on the outside. It all looks quite ugly right now but I have a simple plan to hide all of this, make it pretty, and strengthen it at the same time: cover it with one of my favorite woods: poplar!
(Please let me know if I'm adding enough detail here, or if there are any questions!)
.
No comments:
Post a Comment