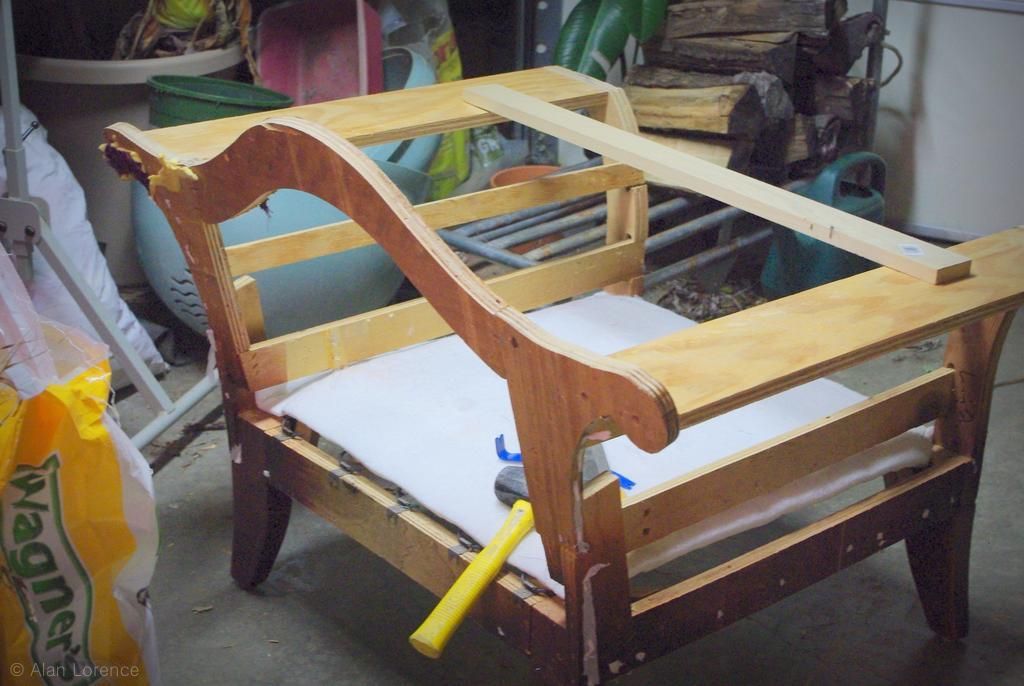
Since right now I have a mostly-plywood skeleton of a chair (because the original was fully upholstered), I have to make it prettier. There's nothing wrong with plywood as it can make some very attractive furniture -- I'll be leaving some of the stuff visible in this design -- but there's plenty of room for improvement here.
***
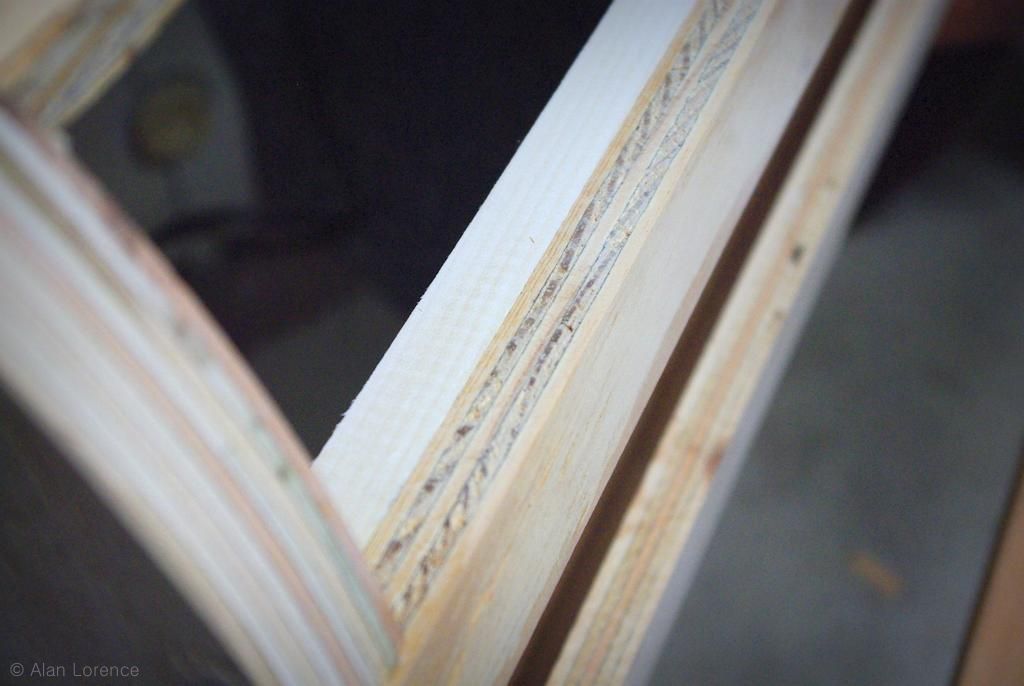
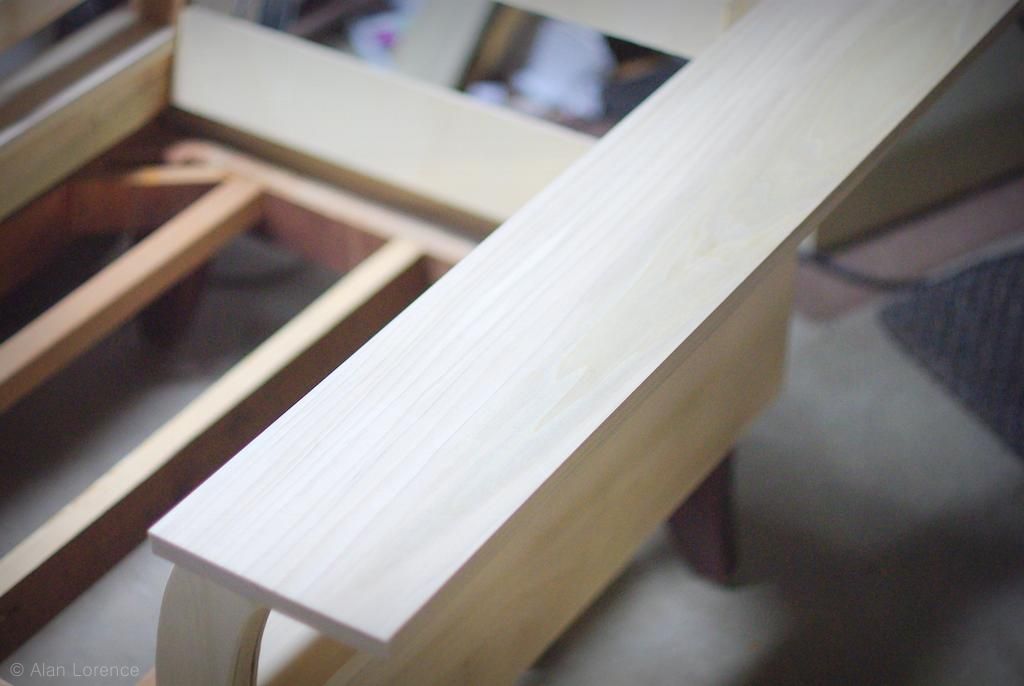
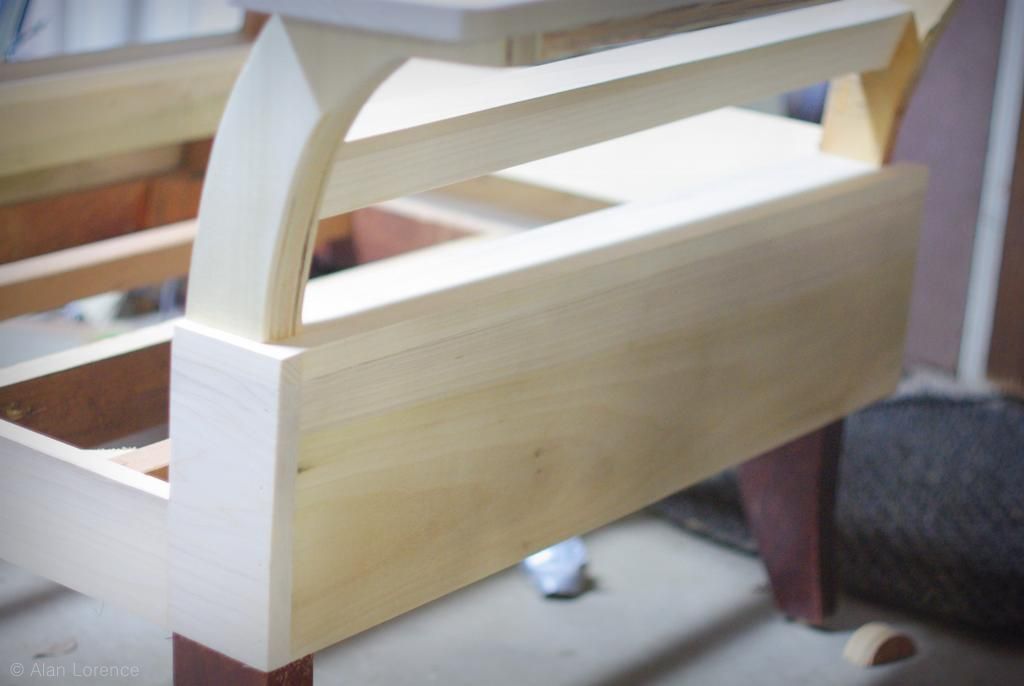
You can see in the above photo that I've added a strip of poplar to the plywood supports. Remember that these bars were covered in heavy-duty cardboard, and that made them sturdy. Without that support they're a bit weak, both structurally and visually.
I capped these two off with another strip of poplar:

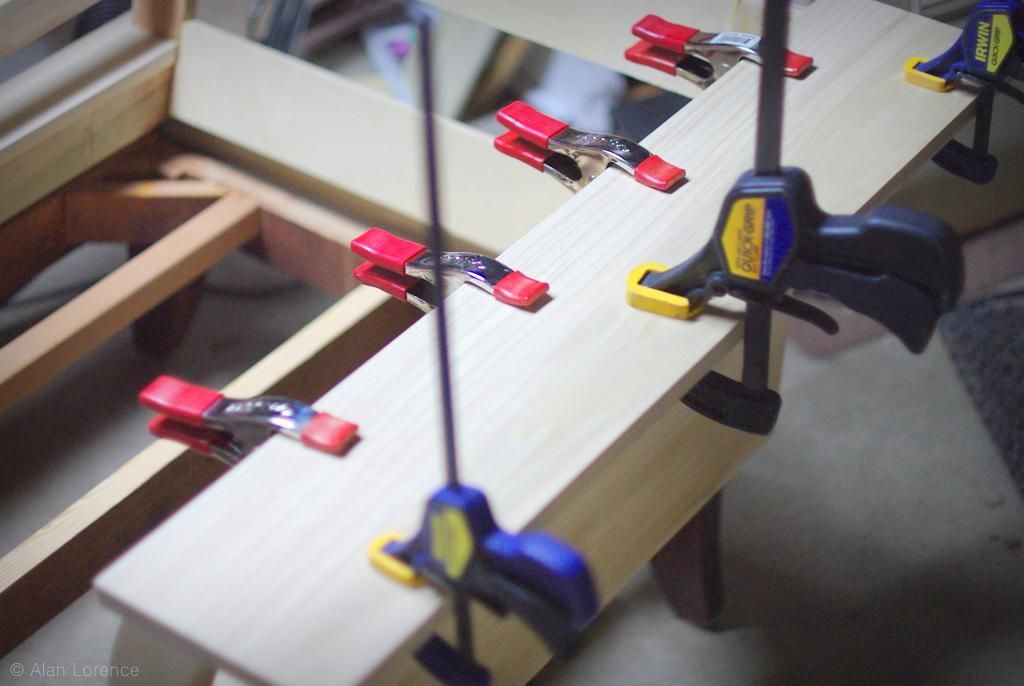
Which was attached with glue and lots of clamps:

If there's one thing that I learned early on when working with wood and glue, it's that you always need more clamps. I'll buy a few more every year it seems.
I want to point out that to some extent my design was guided by convenience (and luck). The plywood strip they used for this support happened to be exactly 1.5" wide, which is a standard lumber width (a 2" "standard size is 1.5" wide). Plus it was 3/4" thick, so adding the poplar -- also 3/4" thick -- resulted in a final thickness of 1.5", perfect for the poplar strip topper!
What I didn't photograph well was the outside lower part of the chair, where most of the wood was going to be added. It was also guided somewhat by luck, as 8" boards covered it almost perfectly.
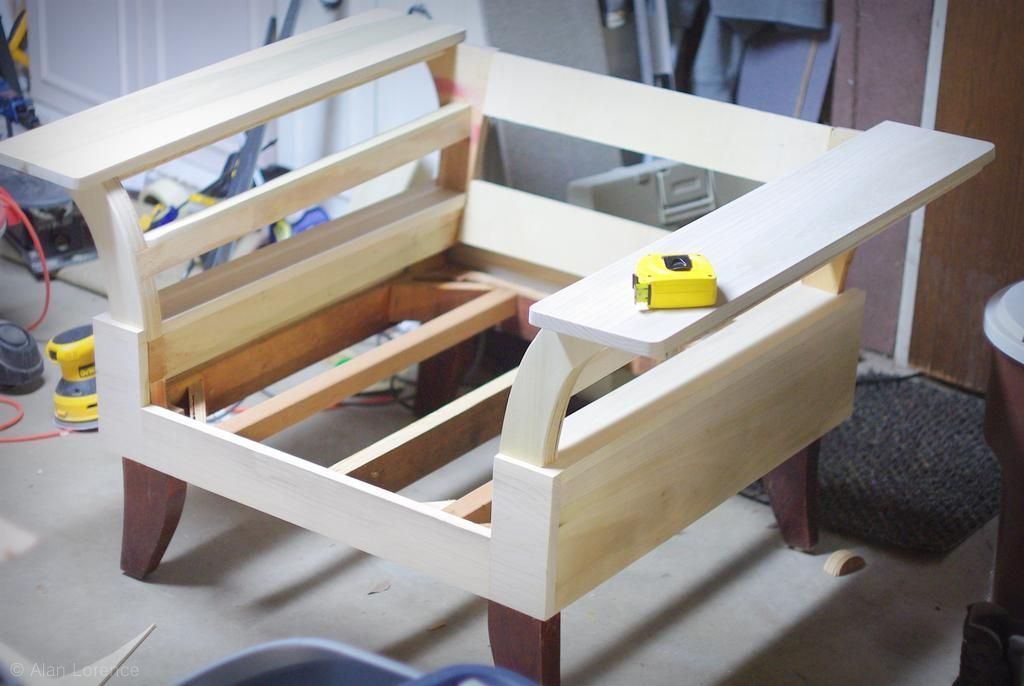
Here you can see that I've added the outside boards already:
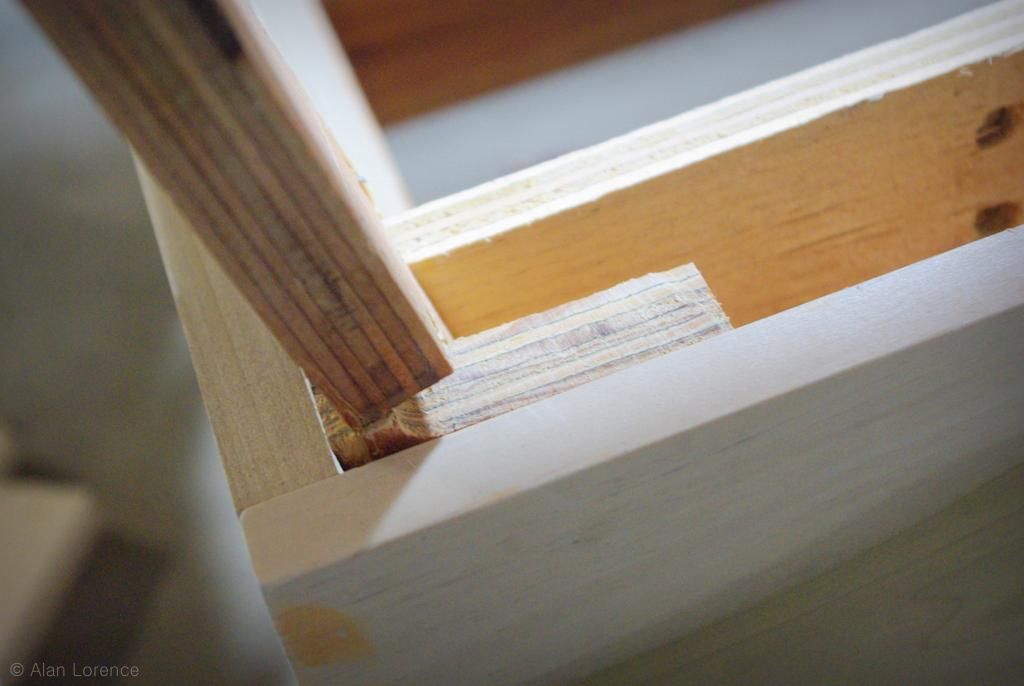
They form a "box" around the base of the chair, which was just partial pieces of plywood before. This is the back corner of the chair, with the right side facing the camera. The support strip (with all of the clamps on it in the earlier photo) is above the top edge of the image, just out of frame.
Again, luck was with me, as that ugly gap formed between the inner plywood support and the newly-added outer poplar board was the perfect width for another strip of poplar -- I didn't have to rip any boards at all:

I did have to cut a notch in both ends of this board to make it fit, but it was crucial to the design.
Here's what the front looks like:
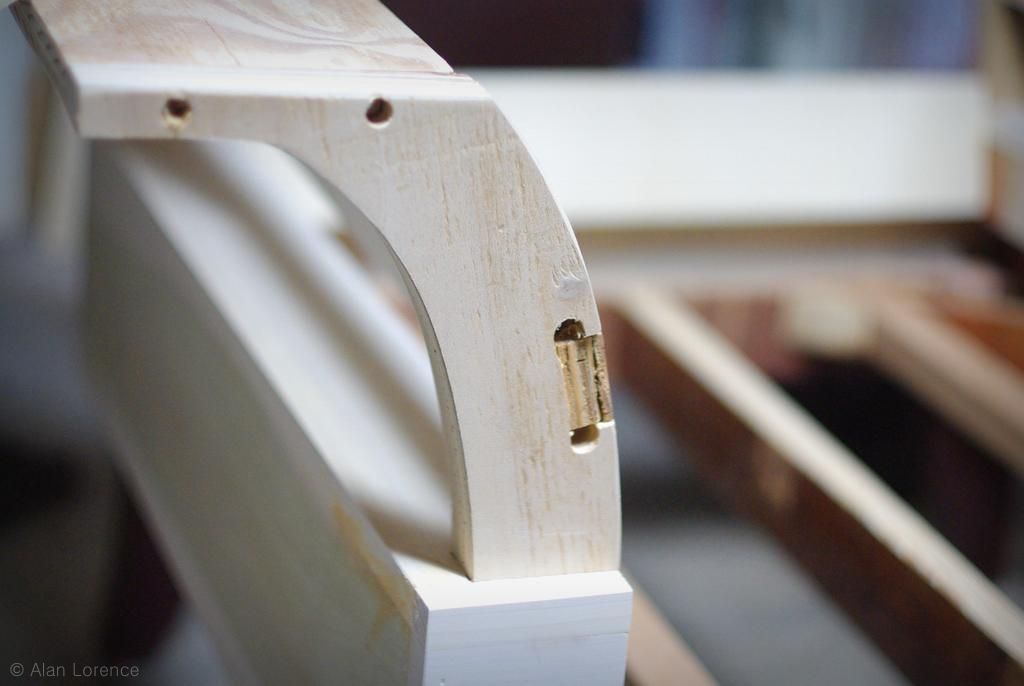
You can see how nice that bottom part looks with the top in place. The drilled plywood of the curved part though... ugly! It needs to be covered, which involves some thin poplar, a pencil, and...

...a jigsaw.
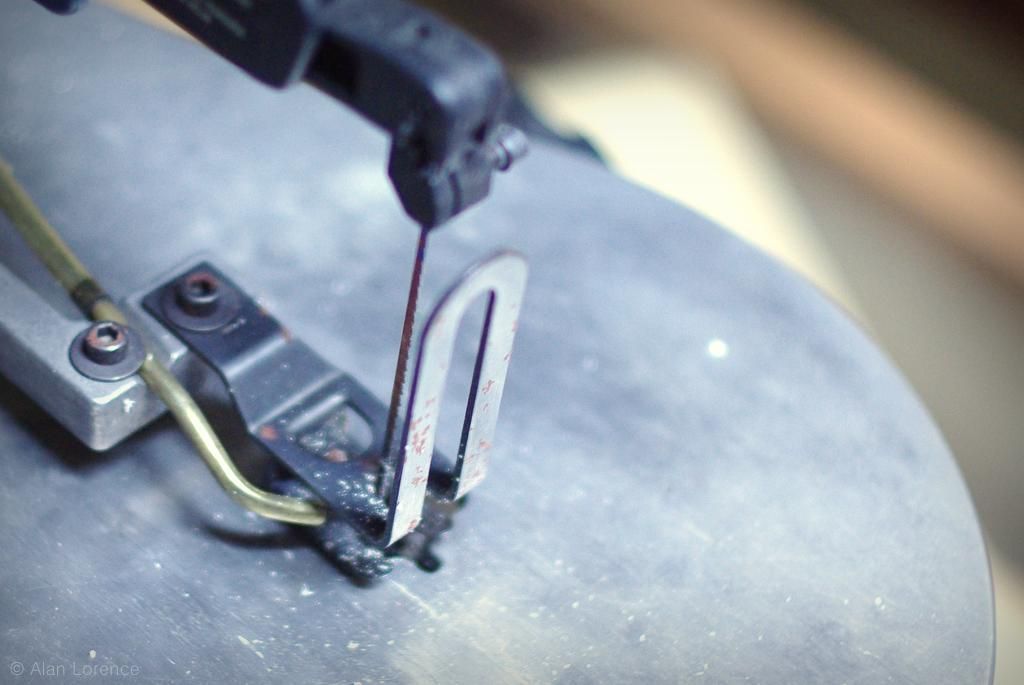
I could have cut these by hand if I actually owned a hand jigsaw, but I got this cheap powered one (which is quite well-worn but still works) from my father years ago when he still owned a machine shop. Always be on the lookout for throwaway or garage sale tools!

That's actually two pieces -- you can see the vertical dividing line if you look closely -- which were just glued to the plywood. Although the edges are a little ragged (I'm not too skilled with a jigsaw) I cut them slightly larger than needed so I could sand them down:
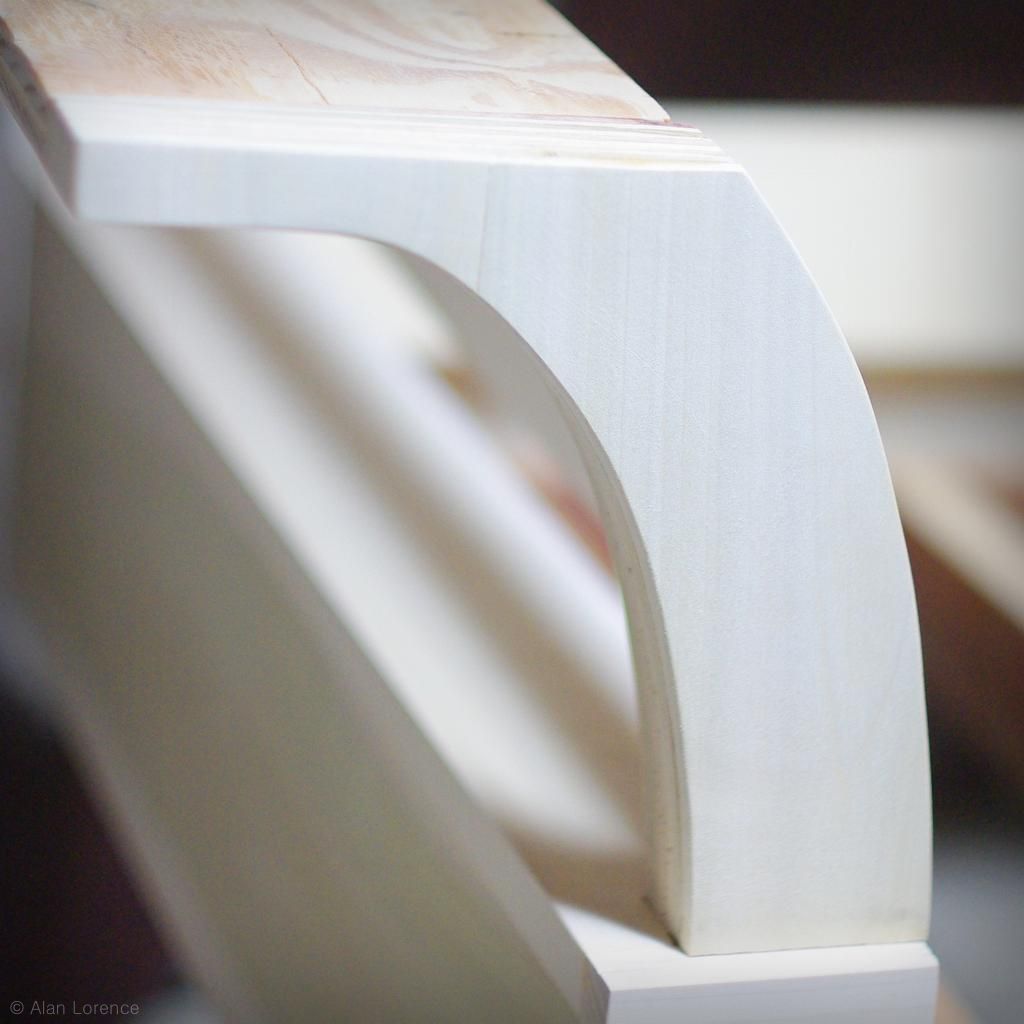
Can you tell how much nicer it looks now with clean and softened edges?
Since I'm now to the point where I'm cleaning up all of the little problem areas, what should I do about this?:
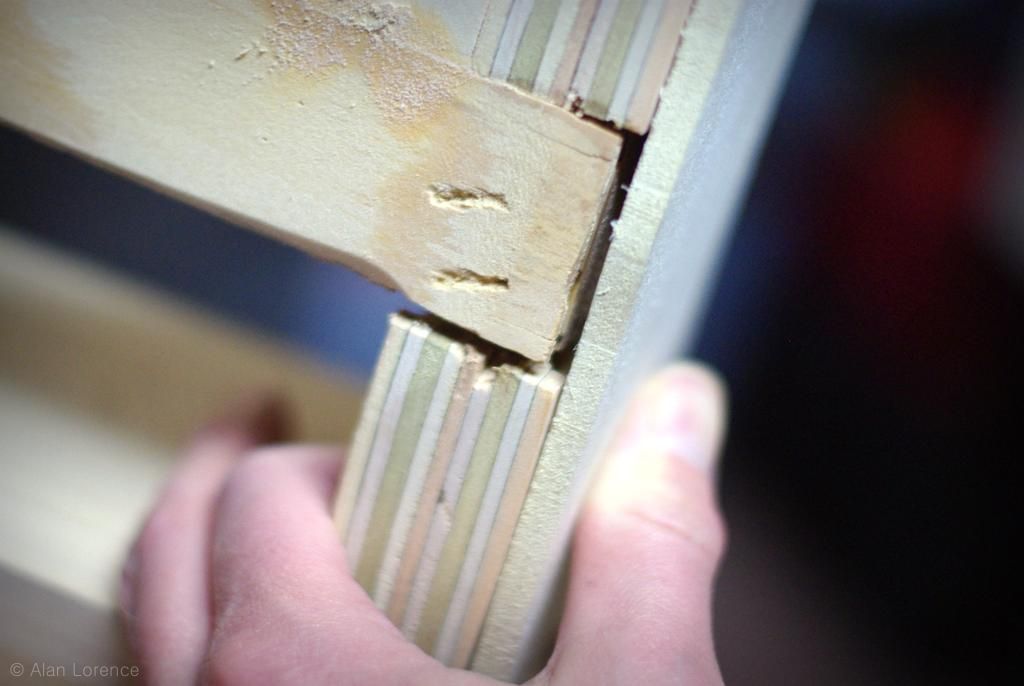
That's the edge of the curved part (my thumb is on the front piece that I just cut), and there is now a pretty large gap that needs to be filled. Luckily I found some thin scrap wood:

Shove those in and add a little bit of wood filler, sand a bit after it's dry, and things are looking better:
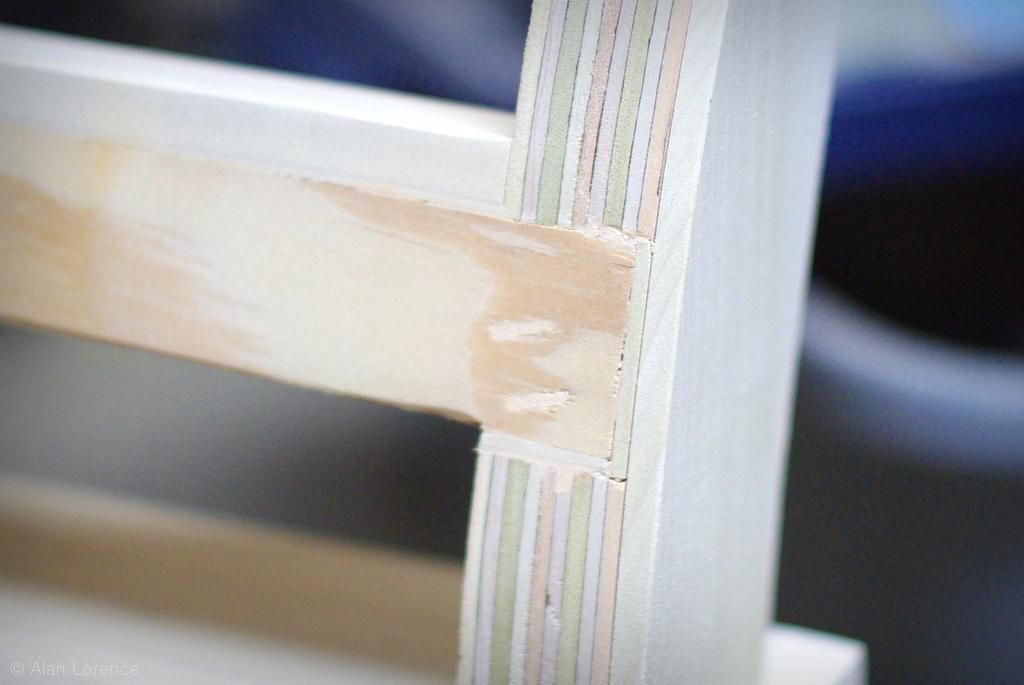
Not too bad! So, what's left? Lots of sanding, especially where pieces join in a less-than-perfect way:
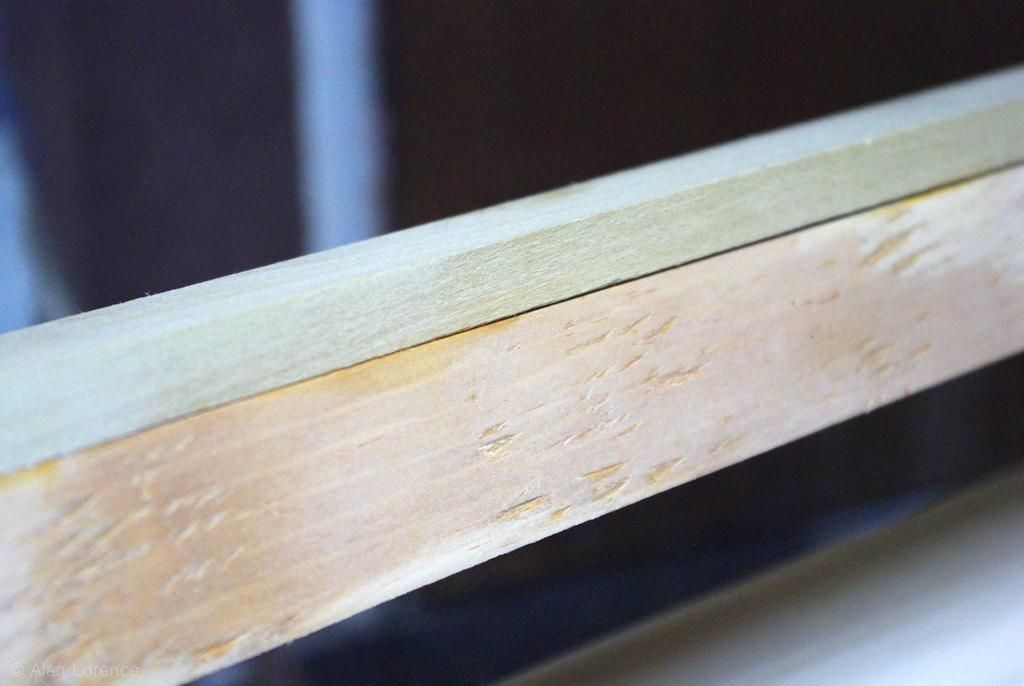
I don't have an "after" photo, but this edge is much less prominent now. If I had actually clamped it tightly enough (you really want to use more clamps than you think you need) there would be almost no visible gap here, and it would look almost like a solid piece of wood after sanding.
Luckily, this joint will be hidden by the seat cushion, so I wasn't too disappointed by my sloppy clamp job.
All that's left now are the arms. I left those until the end so I could sand other parts of the chair more easily -- and I didn't want these to get gouged or marred in any way since they'll be the most visible surfaces. Start with lots of glue:

Then clamp for a couple of hours:
And the arms are attached!
Beautiful! I rounded the corners out a bit, as I knew that if I didn't these would be injuring me (or others) every time I walked near.
I think it's time we took a look at the entire chair now...
Here's what the lower, outer part looked like before the wood skirting was added:
And here it is after:
I didn't remove any of the wood down there, I just covered over it. That ensures the chair will still be as sturdy as ever, and is also less work. Of course, it makes for a heavier piece too, but it's not like I'll need to be moving this around very often.
There are only two steps left in this project: cushions, and finishing (staining and sealing).
It may be a few weeks before I can actually get to those, but we'll see.
.
Wow! That's beautiful already! If I could learn one new skill it would be furniture building/refinishing. Are you doing the upholstery, too?
ReplyDeleteThanks! I'll take a shot at the upholstery, but most likely I'll have my stepson do it -- he's got training and the industrial sewing machine that can handle it.
Delete